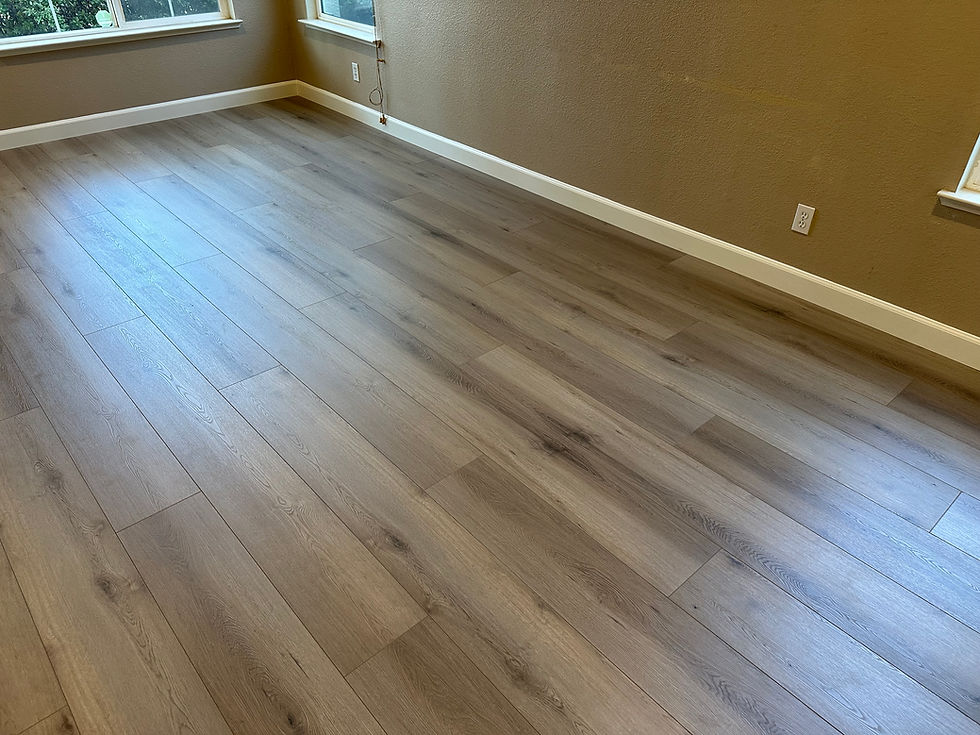
250 sq ft small laminate job
- mhproflooring
- Jul 20, 2024
- 1 min read
Installation of Laminate Flooring in a 230 Square Foot Kitchen
Surface Preparation:
Before commencing the installation of laminate flooring in the kitchen, thorough surface preparation is essential:
Floor Cleaning: Removal of any existing flooring and thorough cleaning of the base to eliminate dust, dirt, and debris.
Level Checking: Ensuring the floor is level and addressing any uneven areas to facilitate seamless installation and prevent future issues.
Laminate Flooring Installation:
Measurement and Planning: Determining the optimal layout and planning the installation to suit the shape and dimensions of the kitchen. Typically, starting from the farthest wall ensures a balanced distribution of planks throughout the space.
Underlayment Installation: Installing underlayment beneath the laminate to improve sound insulation, cushioning, and moisture protection. This step enhances the longevity and performance of the flooring.
Laminate Plank Installation: Carefully laying out and interlocking the laminate planks according to the planned design. Precision cutting may be necessary around corners, cabinets, and other obstacles to ensure a snug fit and professional finish.
Trimming and Finishing: Trimming excess material and ensuring all edges are neatly finished. Transition strips are installed where the laminate meets other flooring types to create a seamless transition between areas.
Final Touches:
Quality Check: Conducting a thorough inspection to verify the integrity of the installation, including seam consistency and overall appearance.
Cleaning: Performing a final cleanup to remove any installation debris and ensuring the kitchen is left clean and ready for use.
This laminate flooring installation process ensures a durable and visually appealing floor in your kitchen, enhancing both functionality and aesthetic appeal.


